Cinnamon Applesauce Ornaments
This post may contain affiliate links, read our disclosure policy.
Cinnamon Applesauce Ornaments are a fun tradition to make with your kids during the holidays!
As you can see from the pictures of my cherub faced boys (who are still handsome, but considerably more gangly these days), we’ve been making Cinnamon Applesauce Ornaments for several seasons now.
This year Ninja Bread Cutters were all the rage. I tried to take new photographs, but wrangling all five kiddos was a feat enough itself. My toddler was bound and determined to throw cinnamon applesauce dough balls all over the house. Bonus though, my house smells great.
Save this recipe!
Save this recipe! Enter your email below and we’ll shoot it straight to ya!
I consent to receive email from this site 💌

Do Not Eat Cinnamon Applesauce Ornaments
Just an FYI (an important one!) these are made from food ingredients, but PLEASE DO NOT EAT THEM!!!
This is a great and remarkably mess-free activity to do with the kids (unless you have a two year old who likes to fling them across the room).
The recipe yields about 8 -10 Cinnamon Applesauce Holiday Ornaments when using standard sized cookie cutters.

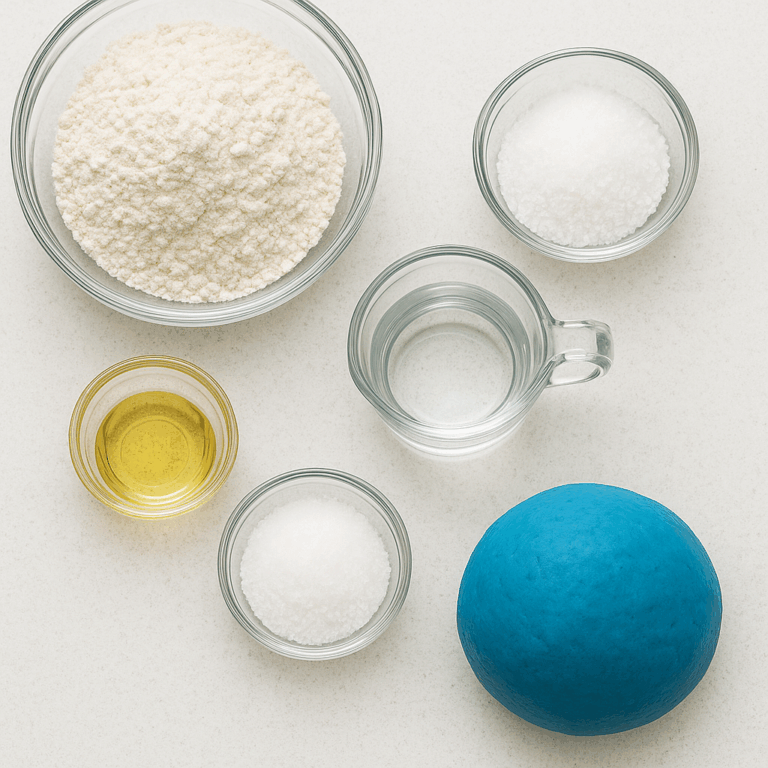
Cinnamon Applesauce Ornaments Ingredients
- ground cinnamon, 4.12 ounce
- applesauce
How Do You Make Cinnamon Applesauce Ornaments
First, combine cinnamon and applesauce in a bowl, knead into a dough.
Next, roll dough out to desired thickness (if you have problems with dough sticking, you can ‘flour’ the surface and rolling pin with more ground cinnamon). Cut shapes with a knife or cookie cutters. Use a straw to make string hole.
Then, bake until cooked through. Allow to cool on a wire rack. Alternatively, you can air dry for 2 – 4 days, turning each half day.
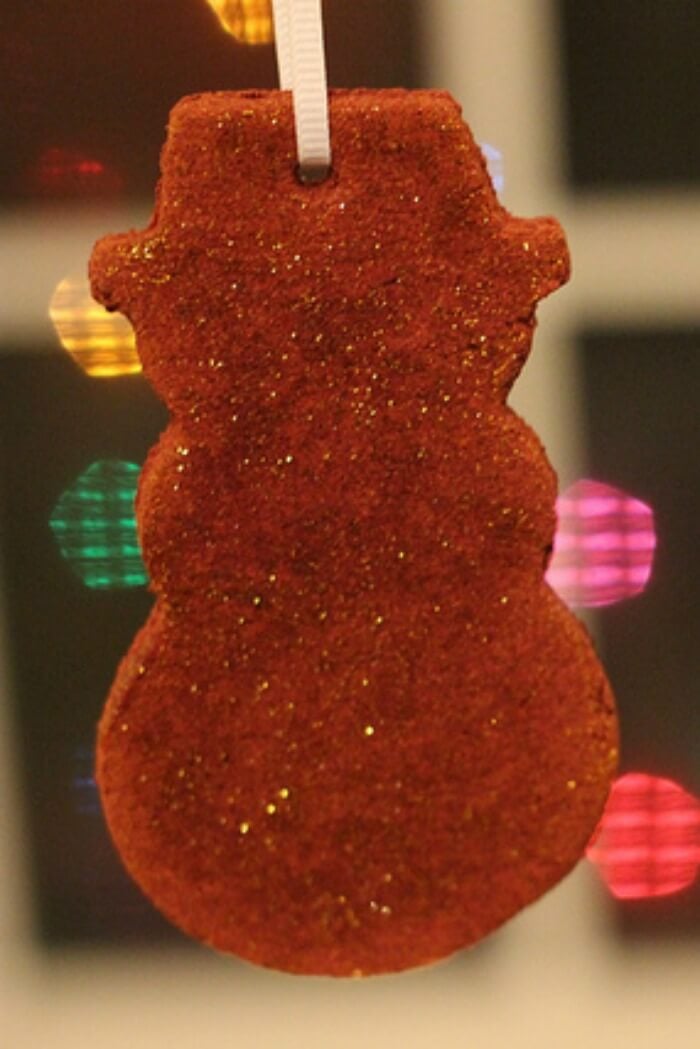
Finally, decorate and hang!

Cinnamon Applesauce Ornaments – Tools
Nordic Ware Aluminum Baking Sheet

More Holiday Posts Like Cinnamon Applesauce Ornaments
White Chocolate and Peppermint Cupcakes

More Crafts Like Cinnamon Applesauce Ornaments
How to Make Magnetic Fridge Frames

How to Make Cinnamon Applesauce Ornaments

Cinnamon Applesauce Ornaments
Ingredients
- 1 container ground cinnamon 4.12 ounce
- 3/4 Cup unsweetened applesauce
Instructions
- Combine cinnamon and applesauce in a bowl, knead into a dough.
- Roll dough out to desired thickness (if you have problems with dough sticking, you can ‘flour’ the surface and rolling pin with more ground cinnamon). Cut shapes with a knife or cookie cutters. Use a straw to make string hole.
- Bake at 200 degrees for 2 – 4 hours, turning each hour. Allow to cool on a wire rack. Alternatively, you can air dry for 2 – 4 days, turning each half day.
- Decorate and hang!
Nutrition
Did You Make This Recipe?
Share it with me on Instagram and use the hashtag #mamalovesfood and follow on Pinterest for even more!

Nov 13, 2015
Get Our Free Easy Casseroles ebook!
Recipes in your inbox
(your email will never be sold!)
Let’s Connect!
Tag #mamalovesfood on Instagram!


OMGosh now I must run to the store to buy all this to do tonight!!!
LOVE LOVE LOVE it, I'll post a link to you. Thanks!
The ornaments are fabulous, and your boys are so precious! Love the pictures, I may try this with my son. Thanks!
What a great post. The ornaments are almost as cute as your boys. I am new to your blog, but I'll be back. I really like the food and recipes you share with your readers and I enjoyed the time I spent browsing through your earlier posts. I hope you have a great day. Blessings…Mary
these look so great. I bet your littles had so much fun making them. Thanks for sharing!
featuring this today in a big ornament round up! http://nap-timecreations.com/2015/12/50-diy-ornament-tutorials.html
I have made these before, years ago. They are my favorite ornaments. I used the air drying method. My house smells amazing. I store them every year carefully by wrapping in tissue and then in a cookie tin. They stay smelling wonderful year after year. I used twine instead of ribbon for a rustic look.
Your ornaments look like they are sprinkled on top with cinnamon and maybe some sparkles but you don’t include that in the instructions or in the photos. Is there a coating? What is it and how do you apply? I looks very pretty and realistic.
we just used some glitter paint on a few of them. it’s not a necessary step though 🙂
Love these so much!
How cute! My girls are going to love making these!
Oh my, these sound SO fun!! perfect for the holidays!
Very cute! We had a great time making them. Looking forward to hanging them on the tree this year.
This is such a fun project! Kids will love it.