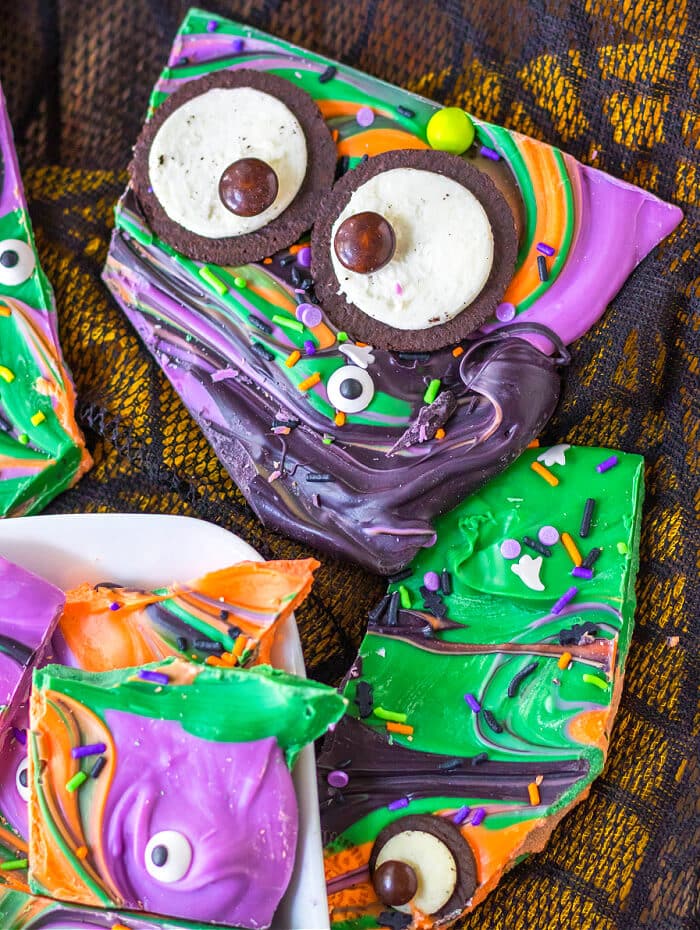
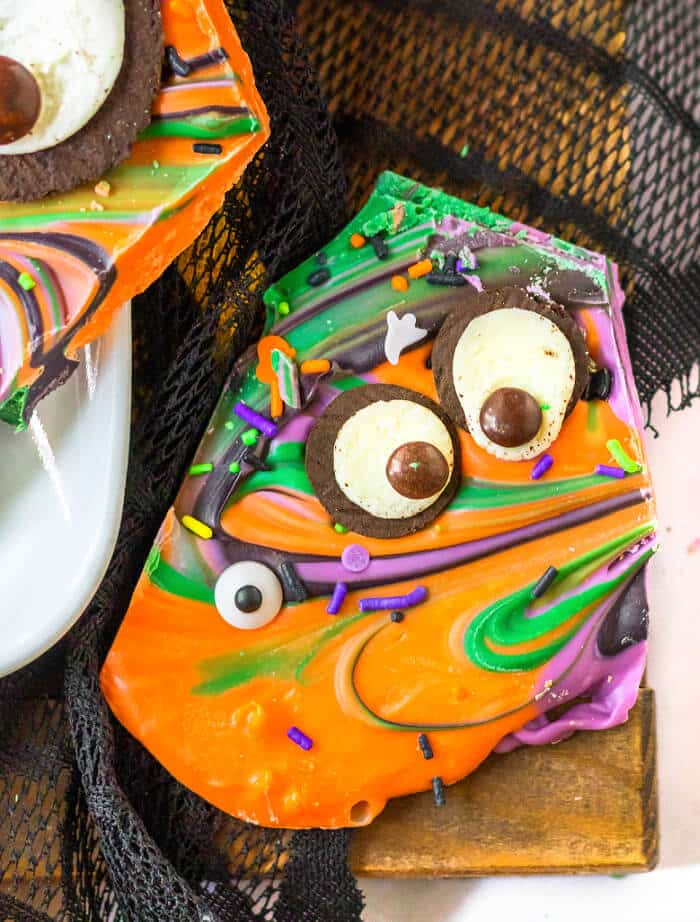
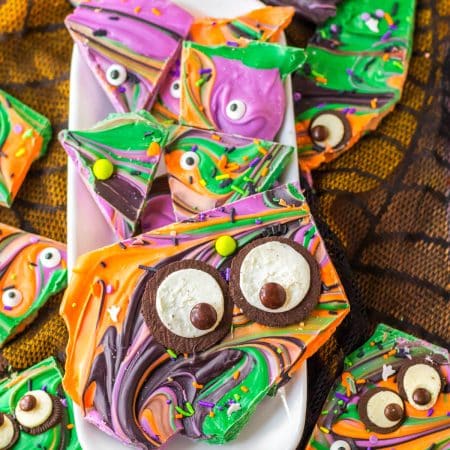
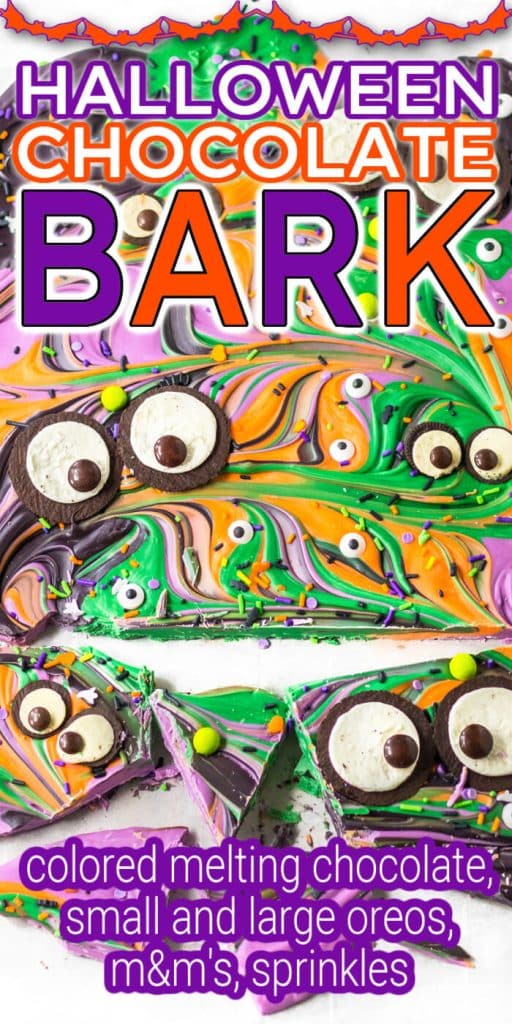
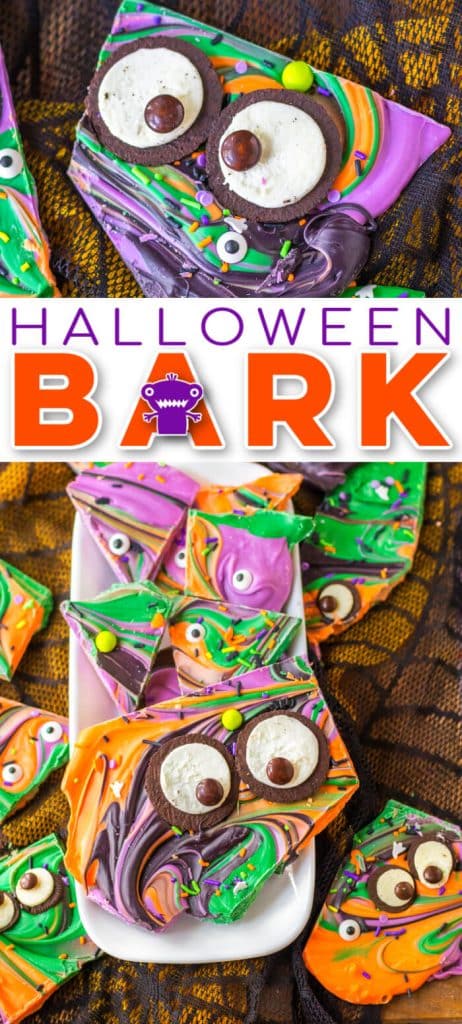
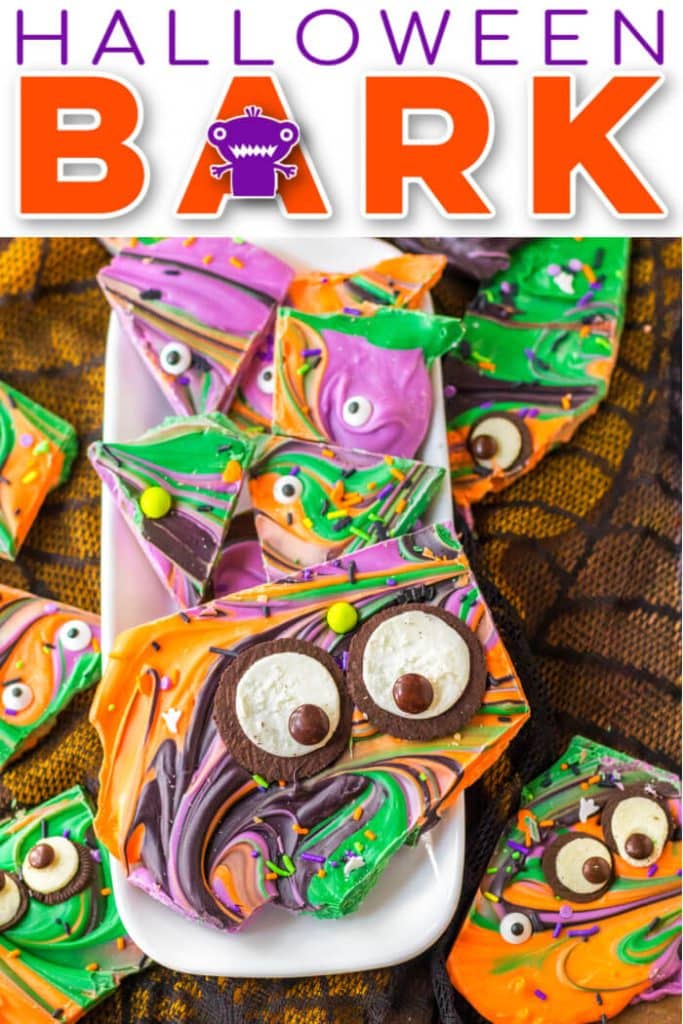
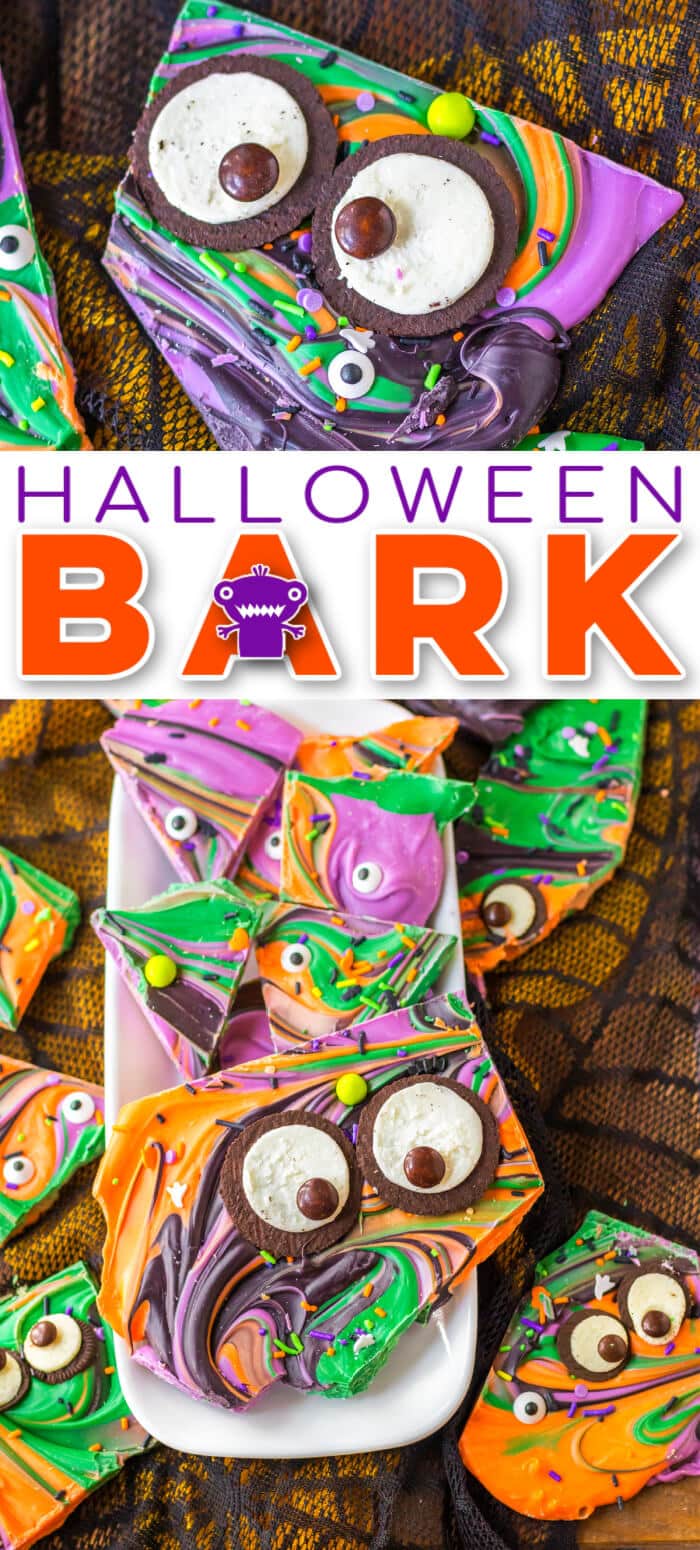
Halloween bark is a deliciously spooky treat made with orange, green, and purple swirls topped with cookie eyes and Halloween sprinkles.
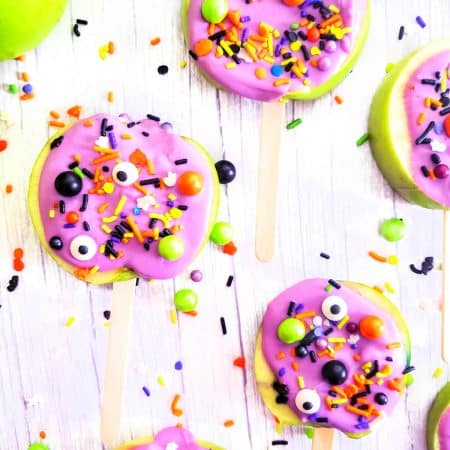
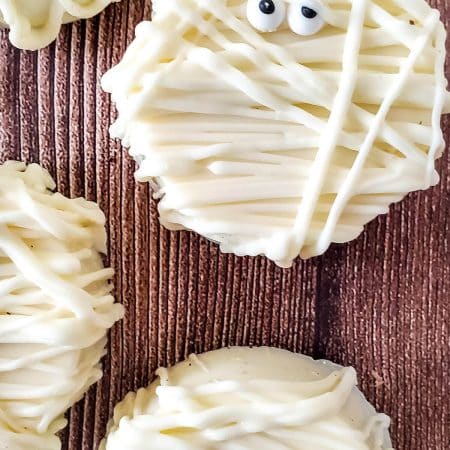
This easy Halloween bark recipe is kid friendly and is as fun to make as it is to eat! Serve these with Halloween candy apple slices, Mummy oreos, and ghost cookies for a haunted host of treats!
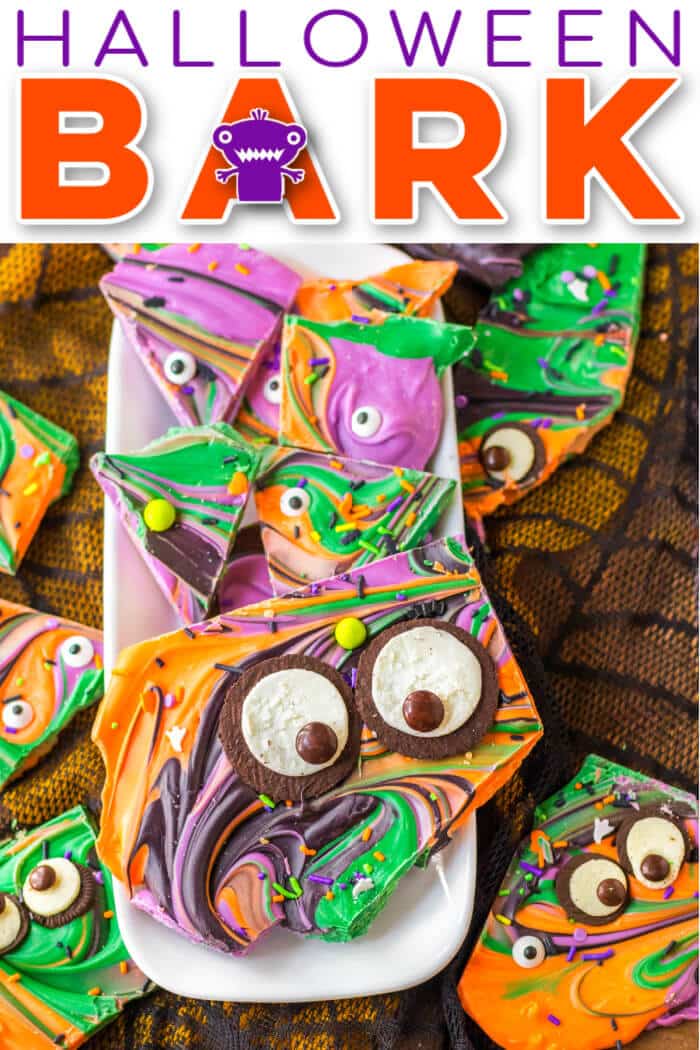
Halloween Bark
Halloween Bark
Click the button above to save this recipe!
Why you’ll love this recipe!
📌 Versatile! Create your own design and color swirls.
📌 Kid-friendly! The kids will have a blast swirling and mixing the colors and making those spooky eyes.
📌 Perfect for a Halloween party or a fall bake sale!
Halloween Bark Ingredients
- Melting candies/chocolate – Purple, green, orange, and black.
- Cookies – Regular and mini chocolate sandwich cookies like Oreos.
- Candy – Regular and mini M&Ms and Halloween sprinkles.
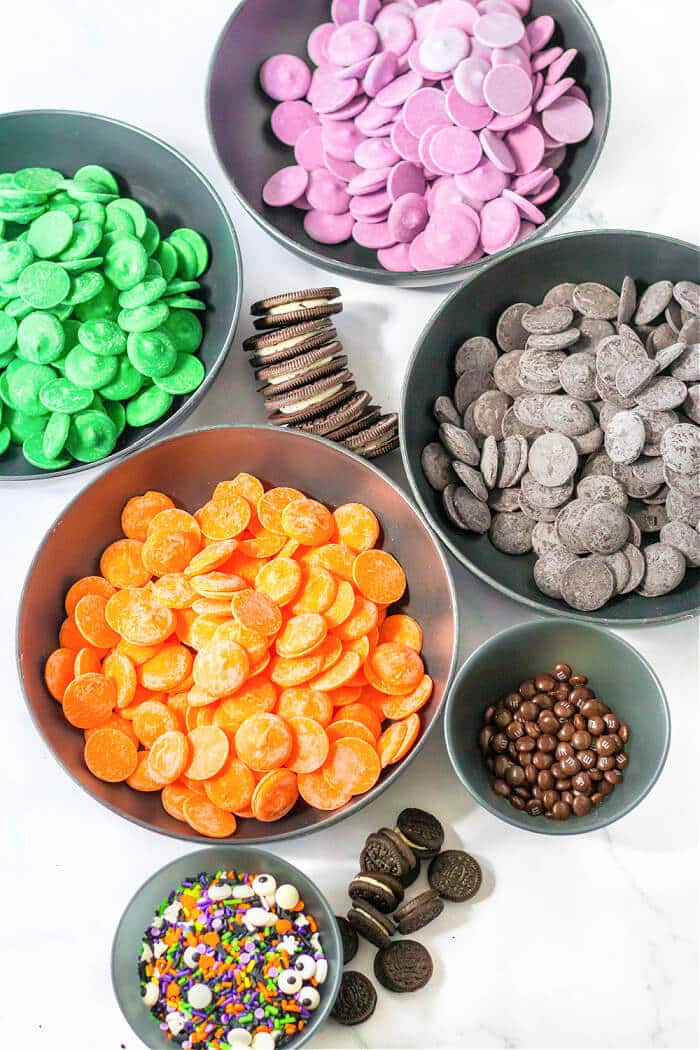
Candy melts will give you super fun and vibrant colors.
How do you make a fun Halloween chocolate bark? (step-by-step directions)
⭐ First, melt the different colored chocolate in 4 separate bowls until melted and smooth.
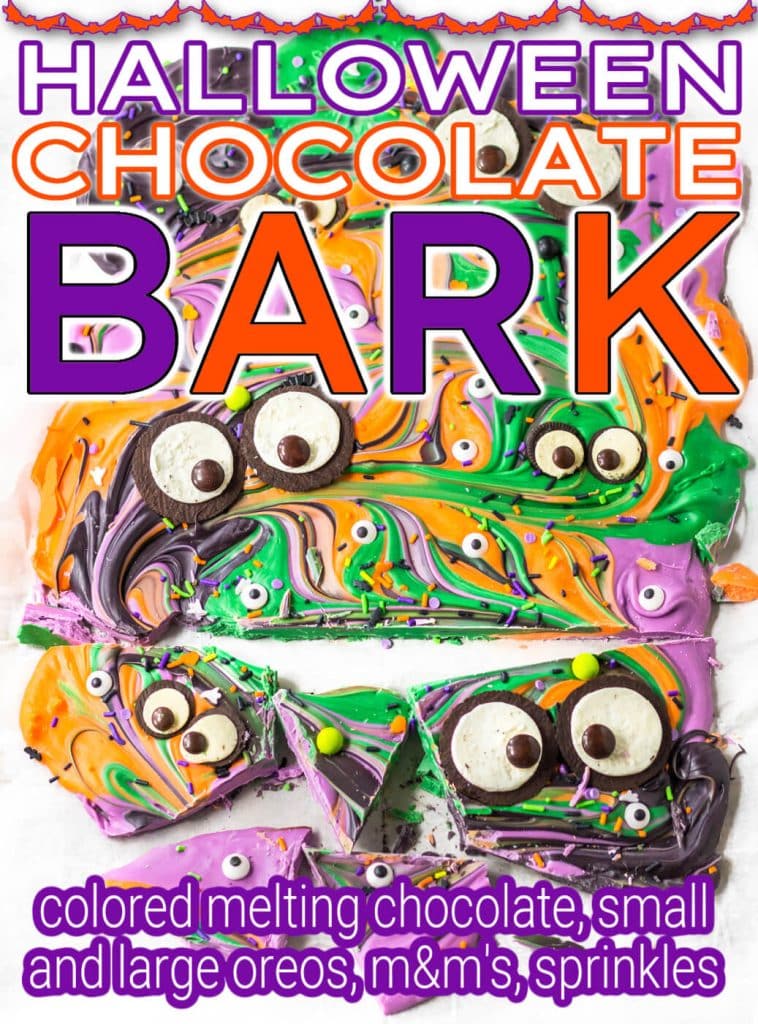
⭐ Next, line a baking sheet or tray with parchment paper and place dollops of different colored chocolate all over the sheet pan. Swirl the colors together.
⭐ Then, separate the sandwich cookies and place two cookies cream side up next to each other to create eyes. Make as many sets as you’d like. Add M&Ms as the pupils.
⭐ Finally, sprinkle the Halloween sprinkles over the bark and let set either on the counter or in the fridge. Break into pieces and serve!
Scroll down to the printable recipe card toward the bottom of this article for ingredient measurements and detailed cooking instructions.
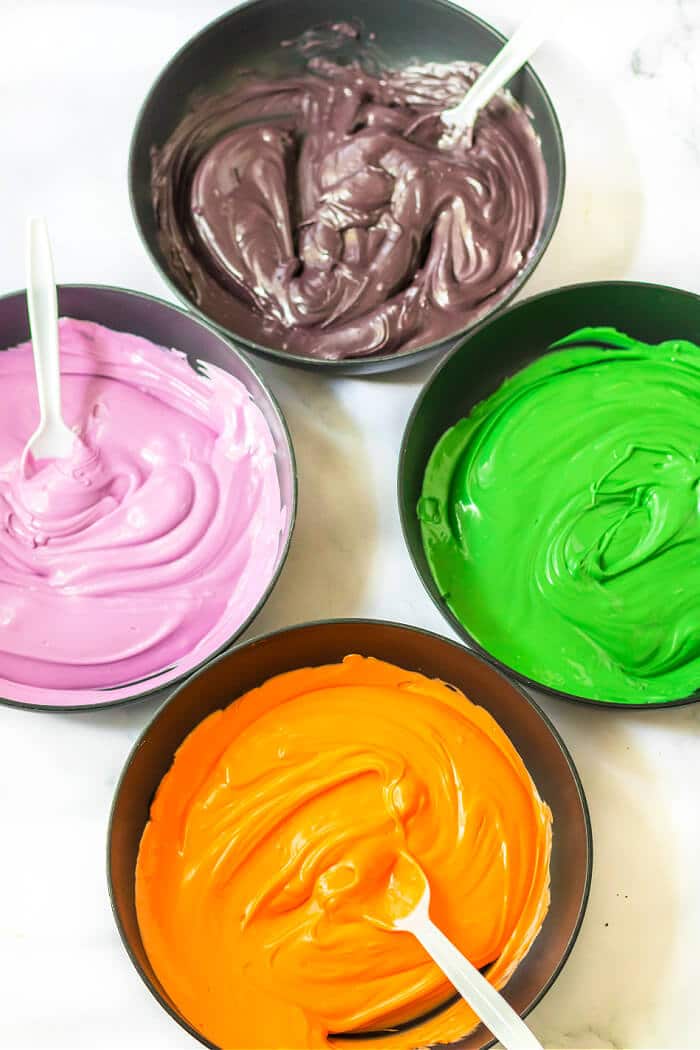
I like to use the microwave for melting, but if we’re doing this as a group activity, the slow cooker works really well too!
Preparation
Can you make Halloween bark ahead of time?
Yes, this can be made several days in advance and stored in an airtight container.
What kind of chocolate to use for Halloween bark?
We used colored candy melts to get the bright colors for this bark but you can use almond bark, white chocolate, milk chocolate, or dark chocolate.
What toppings for Halloween bark?
We use cookies and M&Ms for eyes and Halloween sprinkles for this recipe but you can also use candy eye sprinkles instead of the cookies. Add anything else that you think would be delicious like crushed pretzels, popcorn or marshmallows.
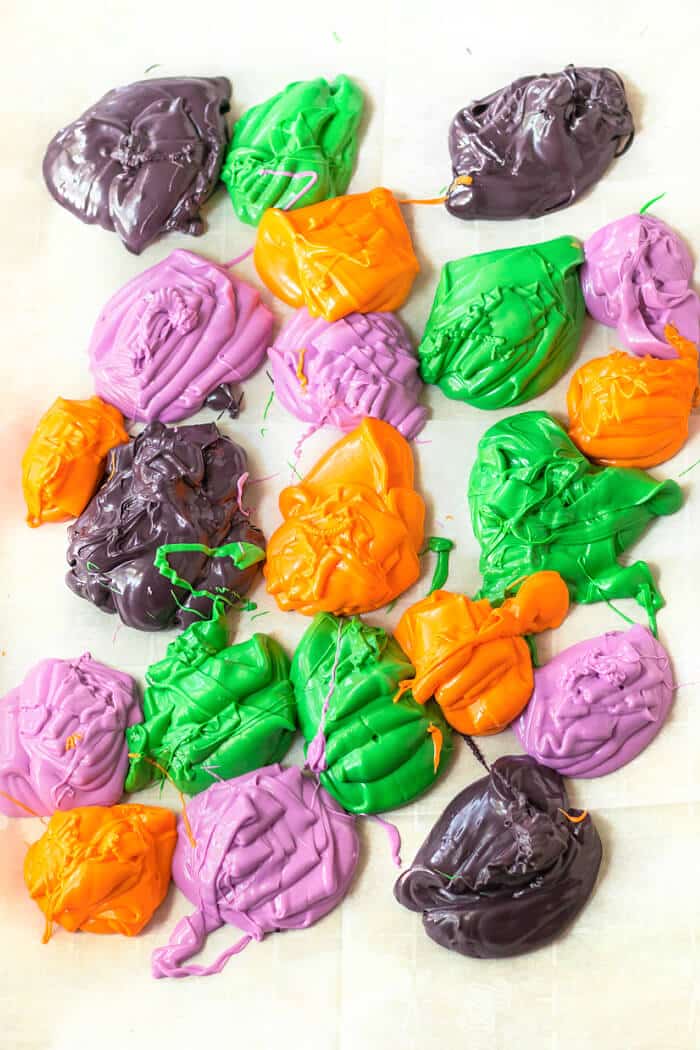
Get crazy! Make lots of fun blobs!
Leftovers and storage
How do you store Halloween bark?
Store in an airtight container at room temperature. This recipe does not require refrigeration and the cookies might actually get a little soggy if kept in the fridge. Store for up to a week.
Can you freeze it?
We do not recommend freezing this recipe.
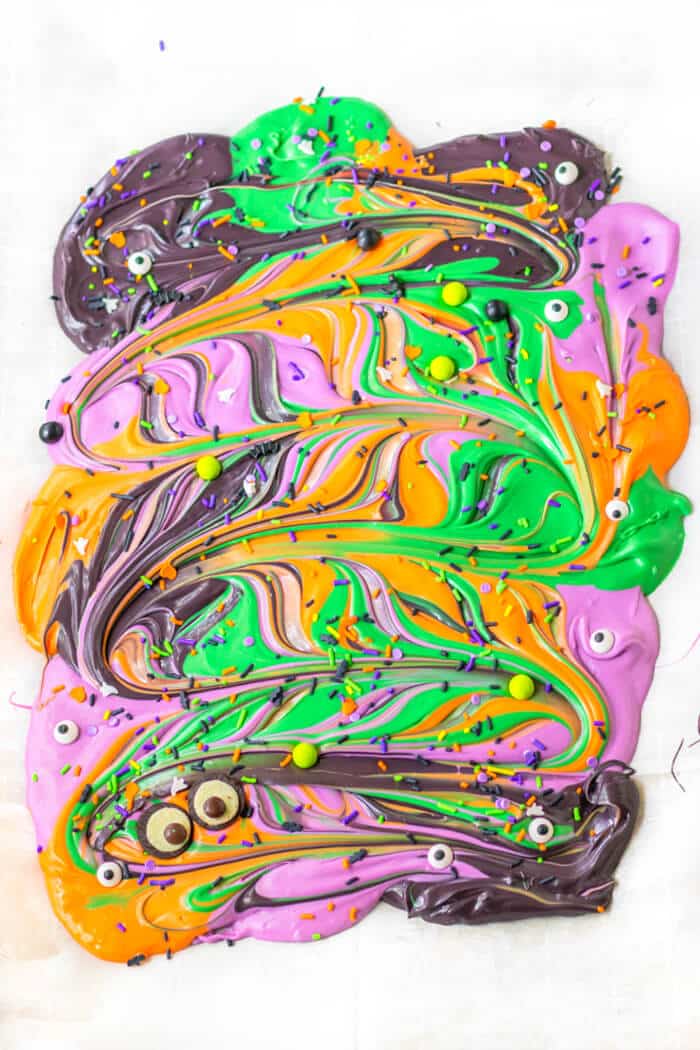
Use the back of a spoon or a skewer to swirl it all together.
Tips and tricks
✅ Chill for quicker setting: Place the bark in the fridge or freezer to speed up the setting process. This will help the bark firm up more quickly. Only leave it for as long as it takes to set. If you leave it too long, it will “sweat” when removed as it comes back to room temp.
✅ Be cautious while melting chocolate: When microwaving the candy melts, heat it in 20 to 30-second increments and stir well between each session. This helps to prevent overheating and ensures even melting. Avoid overheating as it can cause the chocolate to seize or become grainy.
✅ Spread the chocolate evenly: Use a spatula or the back of a large spoon to spread the melted chocolate onto the prepared sheet. Aim for a thickness of about ¼ inch for a balanced bark texture. This will also be your tool for swirling the colors together. Create a spooky and swirly design!
✅ Slice or break into pieces: Once the bark is set, use a sharp knife to cut it or simply break it into irregular pieces using your hands.
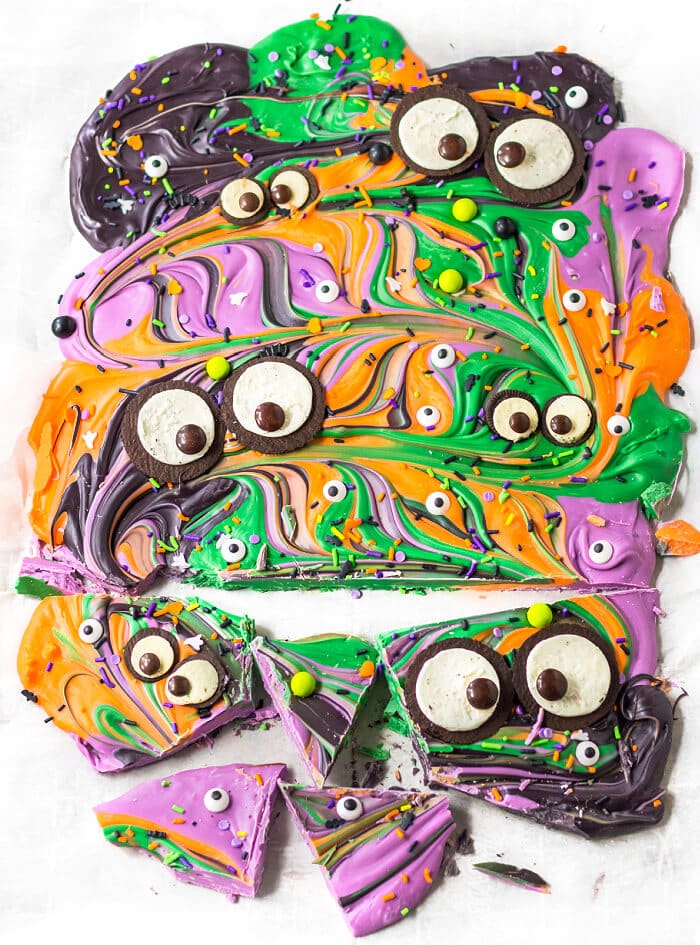
Make sure to add the eyes and sprinkles before the candy melts set.
Frequently asked questions
Can I use natural food coloring to achieve the Halloween colors in the chocolate?
Yes, you can use natural food coloring, but keep in mind that it may not be as vibrant as traditional food coloring or candy melts. Experiment with the amount to achieve your desired colors.
How far in advance can I make Halloween bark for a party?
Halloween bark can be made several days in advance, as mentioned in the article. However, for the best texture and freshness, it’s recommended to make it no more than a week before your event.
Can I customize the flavors of the chocolate for the bark?
Absolutely! Feel free to experiment with different chocolate flavors, such as mint chocolate, strawberry chocolate, or even flavored white chocolate, to add a unique twist to your Halloween bark.
What’s the best way to package Halloween bark as a gift or party favor?
You can package Halloween bark in clear cellophane bags, small treat boxes, or decorative containers. Tie them with colorful ribbons and attach a spooky tag for a festive touch.
Can I add nuts to the Halloween bark for extra crunch?
Yes, if you enjoy nuts in your bark, you can sprinkle chopped nuts like almonds, peanuts, or pecans on top of the melted chocolate before it sets. This will add a delightful crunch.
Can I use this recipe for a Halloween-themed baking activity with a group of kids?
This recipe is perfect for a group activity with kids. You can set up a decorating station with various toppings and let them create their own spooky designs.
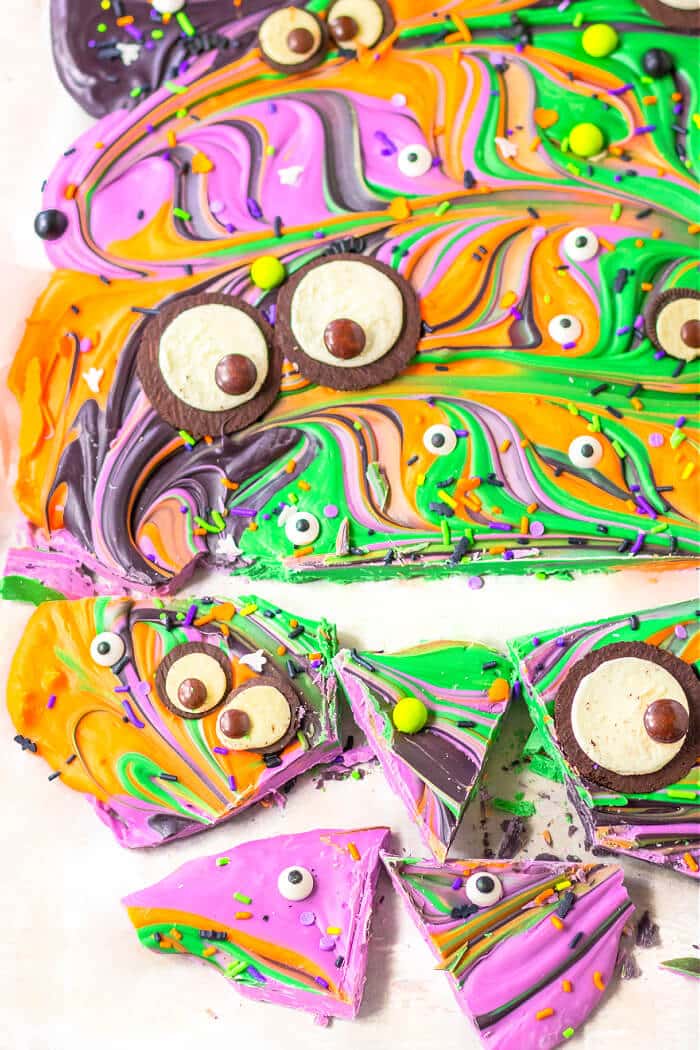
When it’s fully set, carefully break into large pieces.
What to enjoy with your Halloween bark recipe (serving suggestions)
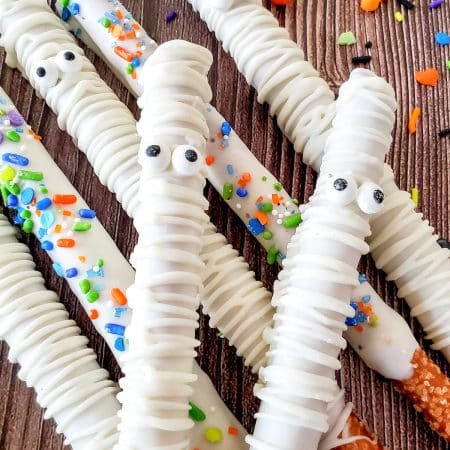
Halloween bark is a great fall treat for any spooky occasion. We like to make a haunted platter by whipping up some bat oreo truffles, mummy pretzels, and candy corn fudge.
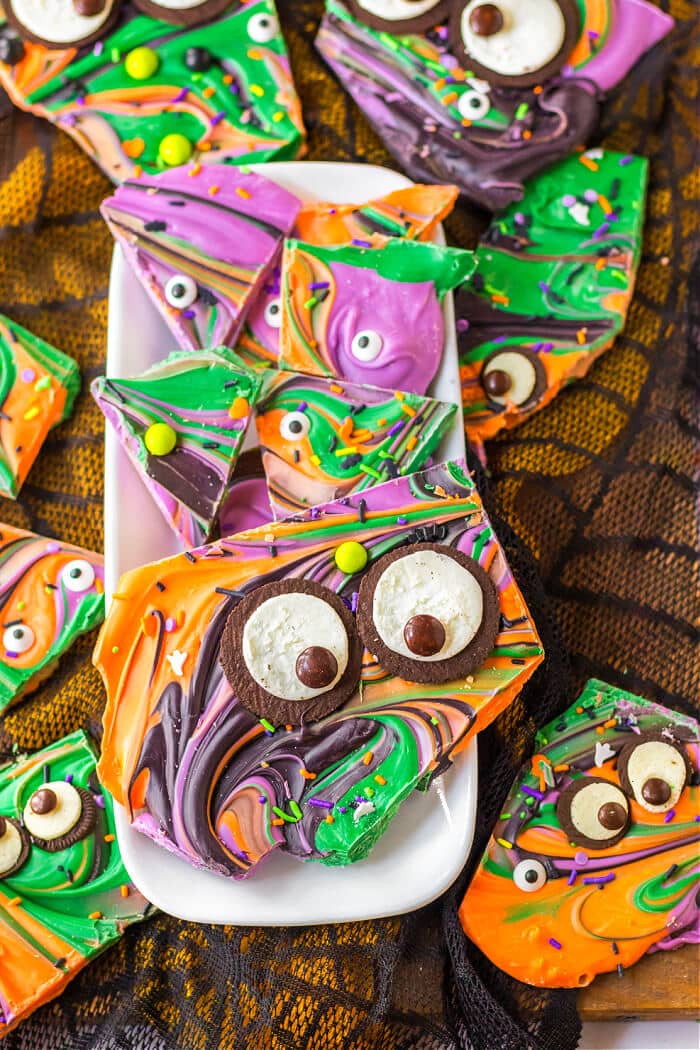
This is so fun for a Halloween bake sale or as a party favor!
Try our other fun chocolate bark recipes!
- Peanut butter bark
- Oreo bark
- S’mores bark
- Popcorn chocolate bark
- See all our yummy chocolate recipes!
What colors will you use for your bark?
Check out these other great autumn snacks and treats
- Crockpot chex mix
- Almond clusters
- Pecan pie balls
- Microwave peanut brittle
- Coca Cola fudge
- Sponge candy
- Martha Washington Candy
👻🎃🦇
Tools we love
- Baking sheets – We love these from Nordicware. I use mine constantly.
- Silicon baking mat – Nothing sticks to these, I swear by them!
- Baker’s Half Sheet – This is the baking sheet we use in the cooking video. Another favvvvvorite. I have four or maybe six of them.
Get our FREE Easy Casseroles Ebook!
Follow us below!Use #mamalovesfood on Instagram!
How to Make Halloween Bark
Halloween Bark
Ingredients
- 12 ounce purple candy melts
- 12 ounces green candy melts
- 12 ounces orange candy melts
- 12 ounces black candy melts
- Chocolate sandwich cookies
- Mini chocolate sandwich cookies
- Mini m&ms
- Regular m&ms
- Halloween sprinkles
Instructions
- Melt each of the candy melt colors using your desired method (see next step).
- MELTING INSTRUCTIONS:Microwave: use a microwave safe bowl and heat candy melts in 20 second increments, stirring between heat cycles.Stovetop: melt candies over low heat, stirring constantly, remove from heat as soon as candies are melted; double boiler can be used if desired.Slow Cooker: add candy melts to oven safe dishes or a crock pot divider and place in slow cooker (mason jars work well for this); cover, set to low for 1 - 2 hours, stir before using. You can melt multiple colors at once using this method.
- On a tray or baking sheet lined with parchment paper or a silpat mat, place dollops of the colors all over the lined sheet pan and swirl them together.
- Separate the sandwich cookies and place 2 cream side up next to each other to create eyes. Do the same with the smaller cookies and add M&Ms to make the pupils. Sprinkle the Halloween sprinkles over the bark.
- Allow the bark to set completely, then break into pieces. NOTE: if using the refrigerator to set your bark, do not leave it in longer than about 15 minutes or it may sweat when taken out.
Notes
Nutrition
⭐Save This Recipe⭐ Send it to your email!
I consent to receive email from this site 💌
Halloween Bark
Click the button above to save this recipe!
Pam says
This was such a fun treat at our Halloween party this last weekend! All the kids loved it!
jess says
this was such a fun and sweet little dessert! thank you so much for sharing this amazing recipe!
Olivia says
This Halloween bark is the perfect treat to make for the spooky season!! It’s so easy to make and the kids loved it!